Using Webex to share your desktop
Sharing your desktop or conducting an online meeting with up to 3 other people is free and easy with Cisco Webex. Conduct online meetings, training sessions or use it for remote support. Here’s how.
1. Go to http://www.webex.com and select the Sign Up Free button
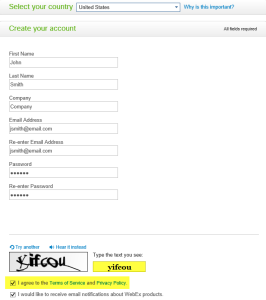
2. Enter in then following information and select Create Account

3. An email will be sent to your mailbox. You will need to follow the directions to validate your new Cisco Webex account.
4. Once the validation is complete, you should be redirected to the Cisco Webex Login page. Use your new account to log in.
5. Note the three buttons at the top part of the page
![]()
Meet Now – allows you to schedule a meeting right now for up to 2 other people for a total of 3, including yourself. That’s all you get for FREE! Many times, this may be enough. Enter in the email address/s and select Start. An email will be sent to the invitees. They will need to click the link in the email and log into Cisco Webex. That’s right, they need an account to participate. If they do not already have an account, please have them follow steps 1 – 4 to create their own.
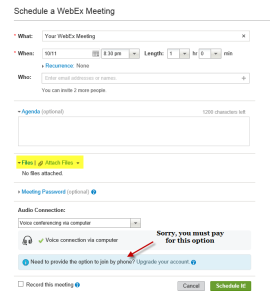
Schedule – allows you to schedule a meeting in advance. This will send an email an invite to the recipients/invitees. Remember, they will need a valid Cisco Webex account to participate in the online meeting. You can create an agenda, attach files.

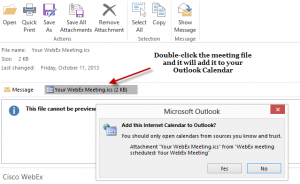
When the recipient/invitee receives the email, they can click on the attached .ICS file and adde the meeting to their calendar.
Upload – allows you to upload files for your meeting and store them on the Cisco Webex meeting space.

The meeting invite will include everything anyone needs to join the meeting including the meeting number, meeting password (if you set one), agenda (if you created one) and the link to the meeting.


