How to change the Windows 7 logon background
Bored of that light blue Windows 7 logon background? Do you wish you could display your own background image at the logon screen? Well, it is very easy to do so in Windows 7. There are plenty of websites that provide you step-by step instructions of how to do this. It only takes a couple of minutes.
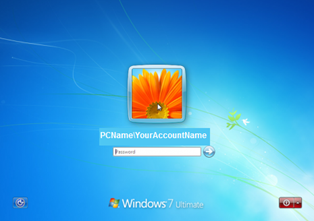
Figure 1 – Default W7 Logon Background
1. Open the registry by selecting the Start button and typing Regedit on the search box.
2. Expand the following registry key: HKEY_LOCAL_MACHINE\SOFTWARE\Microsoft\Windows\CurrentVersion\Authentication\
LogonUI\Background
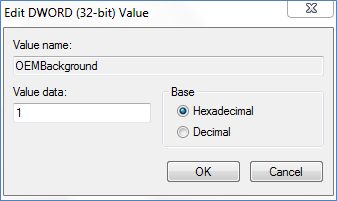
3. Right-click on the OEMBackground key and select Modify. Change the value from 0 to 1.
Figure 2
4. On your computer, navigate to the following directory, C:\Windows\System32\oobe\ and create the following folder “info“. Create a subfolder within the info folder named “backgrounds“.
5. Copy your customized image to the C:\Windows\System32\oobe\info\backgrounds folder. There are a few rules:
a. the image must be a .jpg
b. cannot exceed 256KB in size (otherwise it may look a little distorted)
c. the image must be named backgroundDefault.jpg
6. You can also change shadowing of the background image by modifying the following registry value:
HKEY_LOCAL_MACHINE\SOFTWARE\Microsoft\Windows\CurrentVersion\Authentication
\LogonUI\ButtonSet
7. Configure the shadow settings to your liking by right-click on the ButtonSet key and selecting modify. Change the value to one of the values below.
0 = a light shadow
1 = a dark shadow
2 = no shadow
That’s it! Enjoy your new Windows Logon screen!
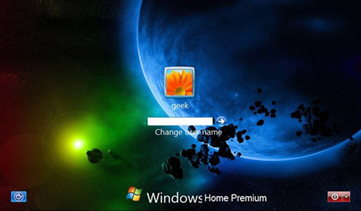
Figure 3 – Customized Login Screen
